This website uses cookies so that we can provide you with the best user experience possible. Cookie information is stored in your browser and performs functions such as recognising you when you return to our website and helping our team to understand which sections of the website you find most interesting and useful.
We can make printed hoarding cheaper in a number of ways. However, our method of creating a scaled schematic diagram of the hoarding layout makes a big difference to cost.

These diagrams, produced after our site survey, allow designers to add graphics giving a realistic visual of the finished hoarding graphics. As it is drawn to scale, it is also used to create print ready files for production. This not only reduces pre-press time but reduces the installation time of the hoarding considerably.
Ways we can make your hoarding cheaper
1) Installing Landscape Hoarding Panels
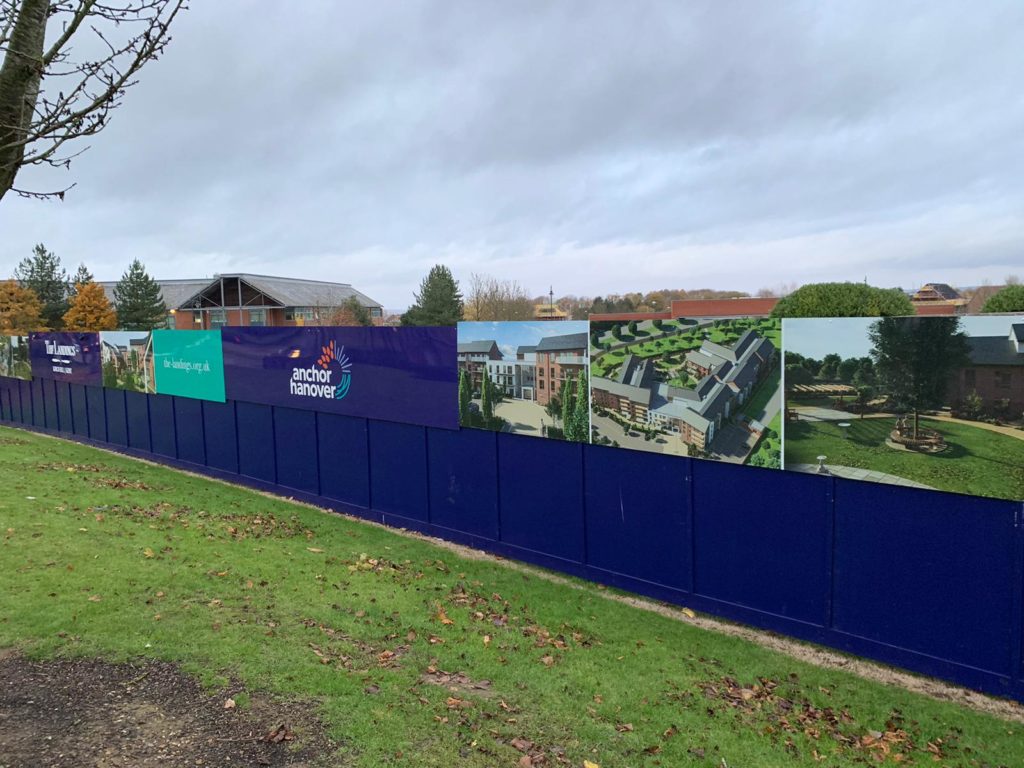
Landscape hoarding panels will generally double the amount area covered around your construction site perimeter. On this example above, only the top half of the hoarding was visible from the roadside therefore using landscape panels to the top of the hoarding was ideal.
We have also produced projects where landscape hoarding panels are fixed across the middle of the existing hoarding boards.
2) PVC Hoarding
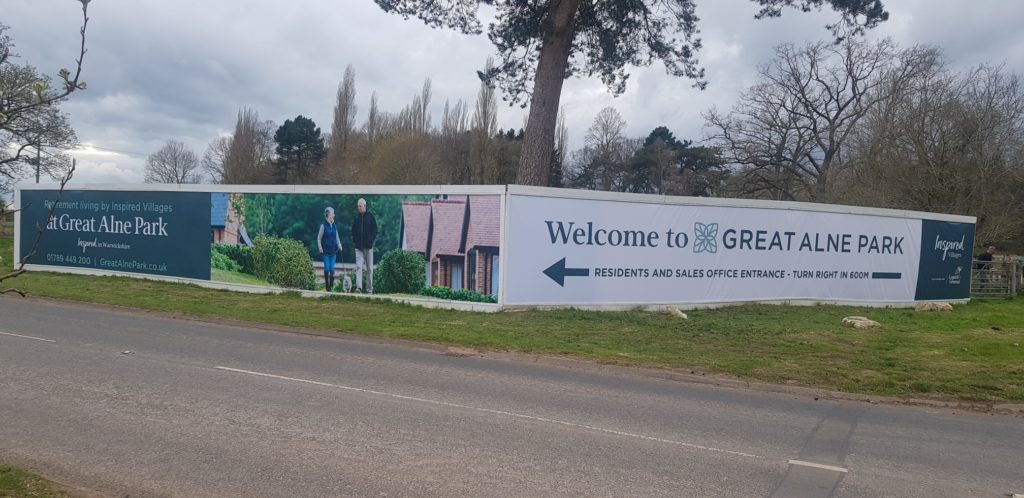
Whilst using a high quality 720gsm PVC banner material can reduce the cost of hoarding graphics, PVC can deteriorate much quicker than Dibond hoarding panels. However for short term projects this may be ideal. The PVC requires a mostly flat surface and will require our site survey to discuss the options.
The image below shows how the PVC material is not always completely flat on timber hoarding. However, creates an adequate graphic for short term hoarding.
Give the team a call to discuss your hoarding project. Our experience in creating and installing high quality hoarding graphics will ensure you get the very best advice. See more details in the links below, or leave a message for us at the bottom of the page and we’ll get back to you as soon as possible.
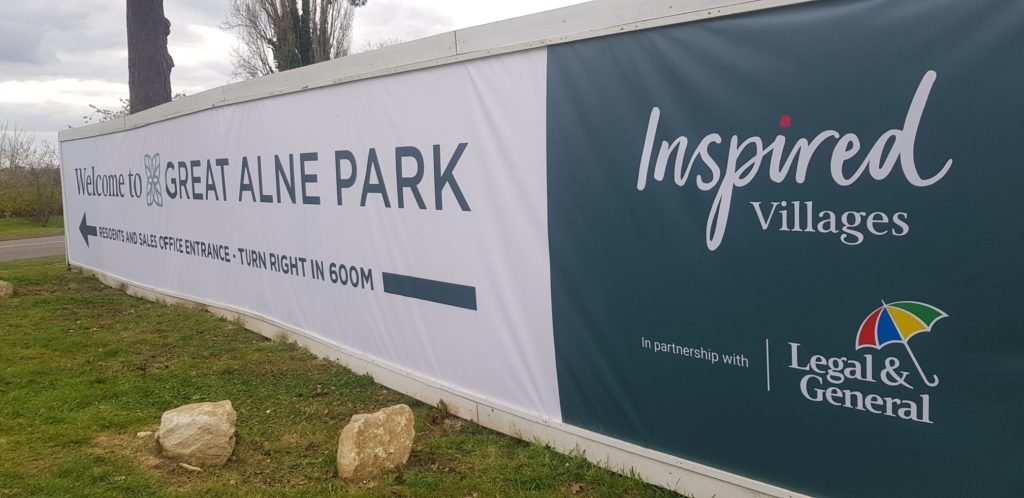
Use existing Headers and Kickers
A nice way of reducing costs on printed hoarding is by utilising the existing headers and kickers.
Headers and kicker panels are usually 150mm in depth and run along the top and bottom of the hoarding. These are usually added by the hoarding fitters when they build the site hoarding, and these are usually white. If these can be utilised it will save costs on us producing the headers and kickers. However, matching headers and kickers with the brand colour can enhance the overall look of the hoarding.
Headers and kickers run across the top and the bottom of hoarding to frame and finish the hoarding. Because hoarding panels are generally rectangular they will be installed in steps on steep inclinations and the headers and kickers hide the unsightly steps. This gives a good frame to the top and the bottom of the peinted hoarding graphic.
